Since cameras went digital we’ve had a few more perks to enjoy alongside our usual photography habits. No longer do we need to pause and think “shall I take that shot?” with expensive film and processing costs giving way to re-usable memory cards.
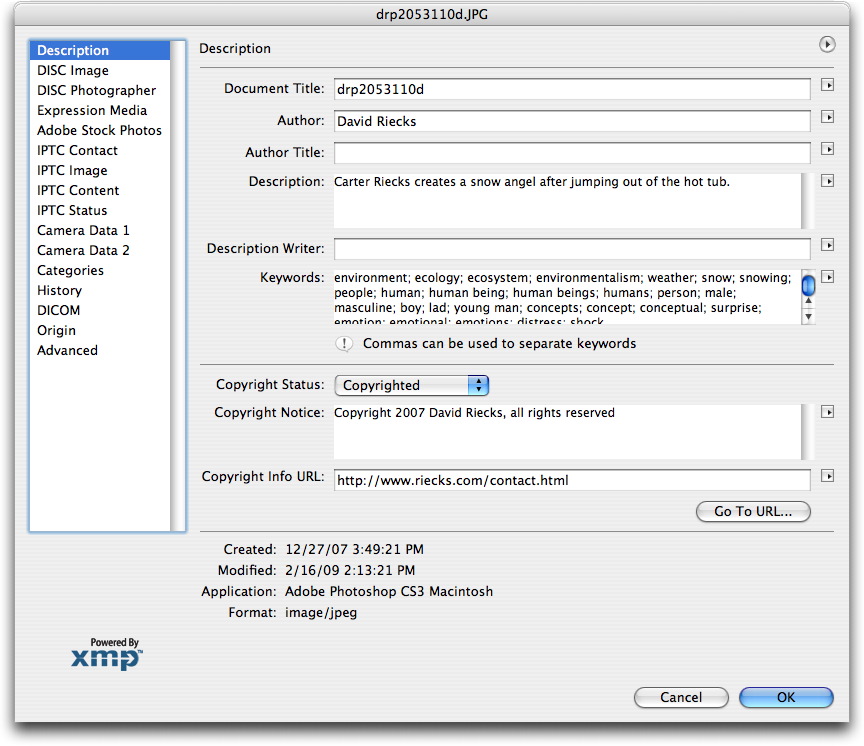
Pretty much every digital camera available today records EXIF data within each image you take. This data is then useful for improving your photography plus can be quite interesting especially if you’re a bit of a geek.
The data URI scheme is a uniform resource identifier (URI) scheme that provides a way to include data in-line in web pages as if they were external resources. It is a form of file literal or here document. This technique allows normally separate elements such as images and style sheets to be fetched in a single Hypertext Transfer Protocol (HTTP) request, which may be more efficient than multiple HTTP requests.[citation needed] Data URIs are sometimes referred to incorrectly as “data URLs”.[citation needed] As of 2015, data URIs are fully supported by most major browsers, and partially supported in Internet Explorer and Microsoft Edge.
So if you’re interested in learning from your mistakes, discovering a bit more about your photos and love technical details then it’s probably about time you learned to read your EXIF data.
The EXIF Format
EXIF stands for Exchangeable Image File, and the data provided can be stored to JPEG, RAW and TIFF image file formats. If you’re a digital SLR owner and you use the RAW image format, you’ll probably notice your manufacturer has their own file extension (for Nikon it’s .NEF, Canon have .CRW etc…) – these files all store EXIF data along with the exposure.
The data itself can reveal some pretty interesting stuff about your photos. As well as the exact time and date you pressed the shutter, a lot of technical information regarding the photograph is captured as well.
The file that contains your image also has a header that contains information such as the file format (JPEG, TIFF, etc.), the resolution of the image (3000 x 2000 for a 6 megapixel image for example), how the image is encoded (RGB for example), and some other useful tidbits that help software to decode the photo inside the image file. In addition to this basic information, “extended” information about the photo may also be included such as whether the flash was on or off during the shot, the distance from the camera to the subject, the shutter speed, aperture, and even GPS information on some cameras. The information (both basic and extended) is usually stored at the beginning of the file, hence the term “file header”. The actual photo is normally stored immediately after the header in the file.

While the EXIF header in your images does have a field called “color space”, use of this data is very limited because the only two values allowed in the EXIF color space field are (1) sRGB and (2) unspecified. This basically means that there is no way to tell what color space (ICC profile) to use if the color space is not sRGB (a standard color space for the PC/Windows platform). For this reason, an ICC profile describing the specific color space of the image may be embedded in the file as well. When an ICC profile is embedded in the image, most ICC aware (color managed) software applications will automatically recognize the embedded profile by reading it from the image header. If you are using a color managed workflow, embedded profiles become quite useful because they take the guesswork out of how to interpret the color in photos and how to translate that color to your monitor and printer.

First up is Epson’s PIM (Print Image Matching) and PIM II. Knowing that full color management using ICC profiles can be more complicated than some users would like due to availability of profiles (or lack thereof) for various devices, Epson introduced PIM as an answer for matching the color from your digital camera to the print. Once PIM was introduced, many manufacturers started making their (newest) digital cameras PIM compatible by embedding the necessary PIM info in the header of each image captured by the camera. While not as robust and arguably not as accurate as full color management using (accurate) ICC profiles, PIM and PIM II do offer a way to transfer information like contrast, saturation, lighting, etc. from the camera to the printer to allow the printer to adjust to different image capture conditions.
ViewExif from Steven Zhang is a useful utility for iPhone photographers of any level. Though it installs as a standalone app, ViewExif is an iOS extension that allows you to view the Exif information of the photos on your iPhone. This Exif information is stored with each photo and contains a range of photo and camera settings including ISO speed, exposure time, aperture, location information, camera make and model, lens make and model and more.
Because it is an extension, ViewExif adds its functionality to the iOS Photos app and other third-party apps such as Dropbox, Google Drive and FileExplorer. Once you enable ViewExif in an app, you can use the extension to view the details of the photo in just a few taps. Just open the image, tap the share button and then tap “ViewExif” to view all the Exif data. The app extension supports common image formats such as JPG, PNG, TIFF as well as Raw formats (CR2, NEF).
for more details visit : http://www.verexif.com/en/

